WordPress – How to change Post Post Type Slug

If you want to change the slug of the Post post type to something like /posts/my-story/, there is no default way in the WordPress settings.  Changing the Permalink settings will changes Pages as well.

There is the hook register_post_type_args, which allows you to hook into a registering post_type and update values there. But updating the rewrite parameter for the post post-type does not work here for some reason.

So instead we can do something else.  Redeclare the post post-type.

Yes, that’s right, simply declare it again.

add_action( 'init', 'redefine_post', 1 );
function redefine_post() {
  register_post_type( 'post', [
    'labels' => [
      'name_admin_bar' => _x( 'Post', 'add new on admin bar' ),
    ],
    'public' => true,
    '_builtin' => false,
    '_edit_link' => 'post.php?post=%d',
    'capability_type' => 'post',
    'map_meta_cap' => true,
    'menu_position' => 5,
    'menu_icon' => 'dashicons-admin-post',
    'hierarchical' => false,
    'rewrite' => array( 'slug' => 'post' ),
    'query_var' => false,
    'delete_with_user' => true,
    'supports' => [ 'title', 'editor', 'author', 'thumbnail', 'excerpt', 'trackbacks', 'custom-fields',      'comments', 'revisions', 'post-formats' ],
    'show_in_rest' => true,
    'rest_base' => 'posts',
    'rest_controller_class' => 'WP_REST_Posts_Controller',
  ] );
}

Get value from GTM, and update a form input, using Vanilla JS

Here’s a handy vanilla JS script to get a value from Google Tag Manager (GTM) and update a form input.

/**
* Get value from GTM, and update a form input
*/
( function () {

  window.addEventListener( "load", function () {

  // Check for our form
  const form = document.querySelector( '.our-form' );
  if ( ! form ) return;

  // Our field to populate
  const input = '.our-input';

  // We need to wait until GA has loaded
  function checkGaLoaded () {

    if ( typeof ga === 'function' ) {
      console.log('Loaded :'+ ga);

      // Connect to GA
      ga( 'create', 'UA-xxxxxxxx-x', 'auto' );

      // Get the data
      const all = ga.getAll();
      const pc = all[0];
      const data = pc['model']['data']['ea'];
      for ( const [key, value] of Object.entries( data ) ) {
        if ( key === ':our_key' ) {
          console.log('Found');
          console.log(value);

          // Update the form value
          const our_input = document.getElementById( input );
          if ( our_input ) {
            our_input.value = value;
          }
        }
      }

      } else {
        console.log('Not loaded');
        setTimeout( checkGaLoaded, 500 );
      }
    }
    checkGaLoaded();

  } );

} )();

“cannot access install” Error when Deploying from BitBucket to WP Engine

I recently came across a “cannot access install” error when deploying from a BitBucket repo Pipeline to WP Engine.

The error occurred on the rsync command, but during debugging I got the same problem with a simple SSH connect.  Nothing had changed on either setup recently.

I contacted WP Support and we worked through debugging the problem.  We couldn’t find the cause, and so I deleted the SSH key pair from BitBucket, and created a new pair.

I then added the new public key to WP Engine, and everything worked again.

I’m putting this out here in case this helps someone else.

I reduced CD pipeline from 43 minutes to 11 minutes, using parallel steps

I work on a large collection of sites for a university.

It’s a single codebase, shared onto 9 sites.  This is done via Bitbucket Pipelines.

For years each site has it’s own step in the pipeline CD script to copy the files to the server.  These steps were run sequentially, one after the other.

I’ve just changes these 9 steps to run in parallel.

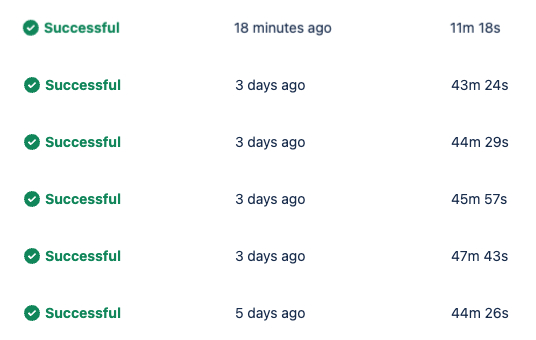
Typical times were 43 minutes to deploy, but now it’s 11 minutes.

This will make a big difference, as when checking results on a site at the end of the list, I had to wait a long time.

Eero connection dropout with Virgin Media

I moved to a new house, taking my existing Eero setup, and experience connection dropouts.

I had Virgin Broadband and the old house, and the new house, and assumed I would be just plug and play.

I tried setting the Eero system in bridge mode, which didn’t solve the problem entirely, but did help.

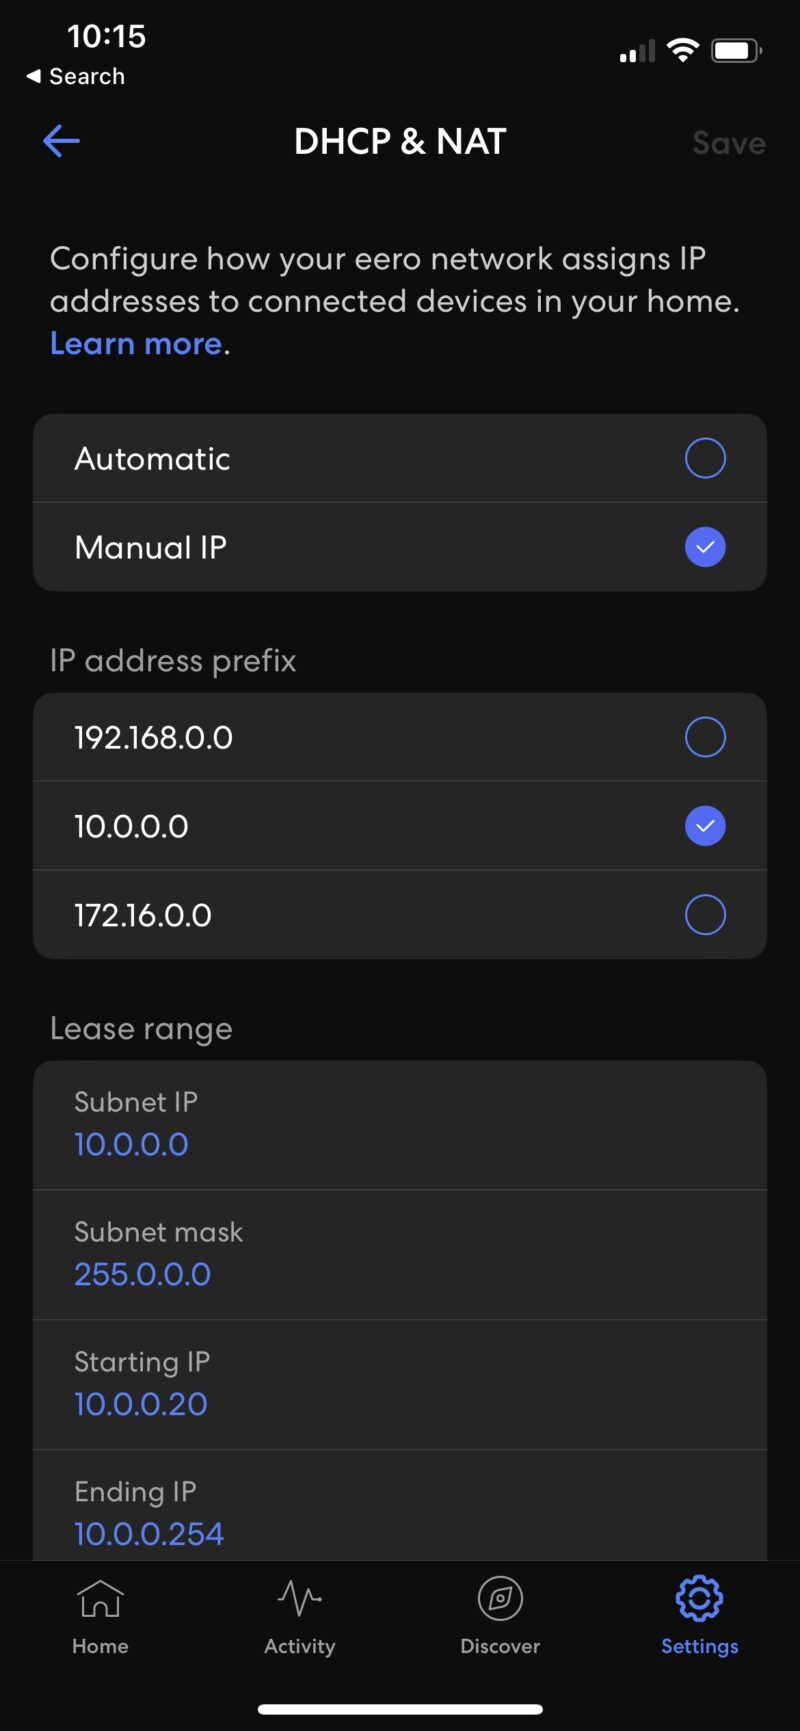
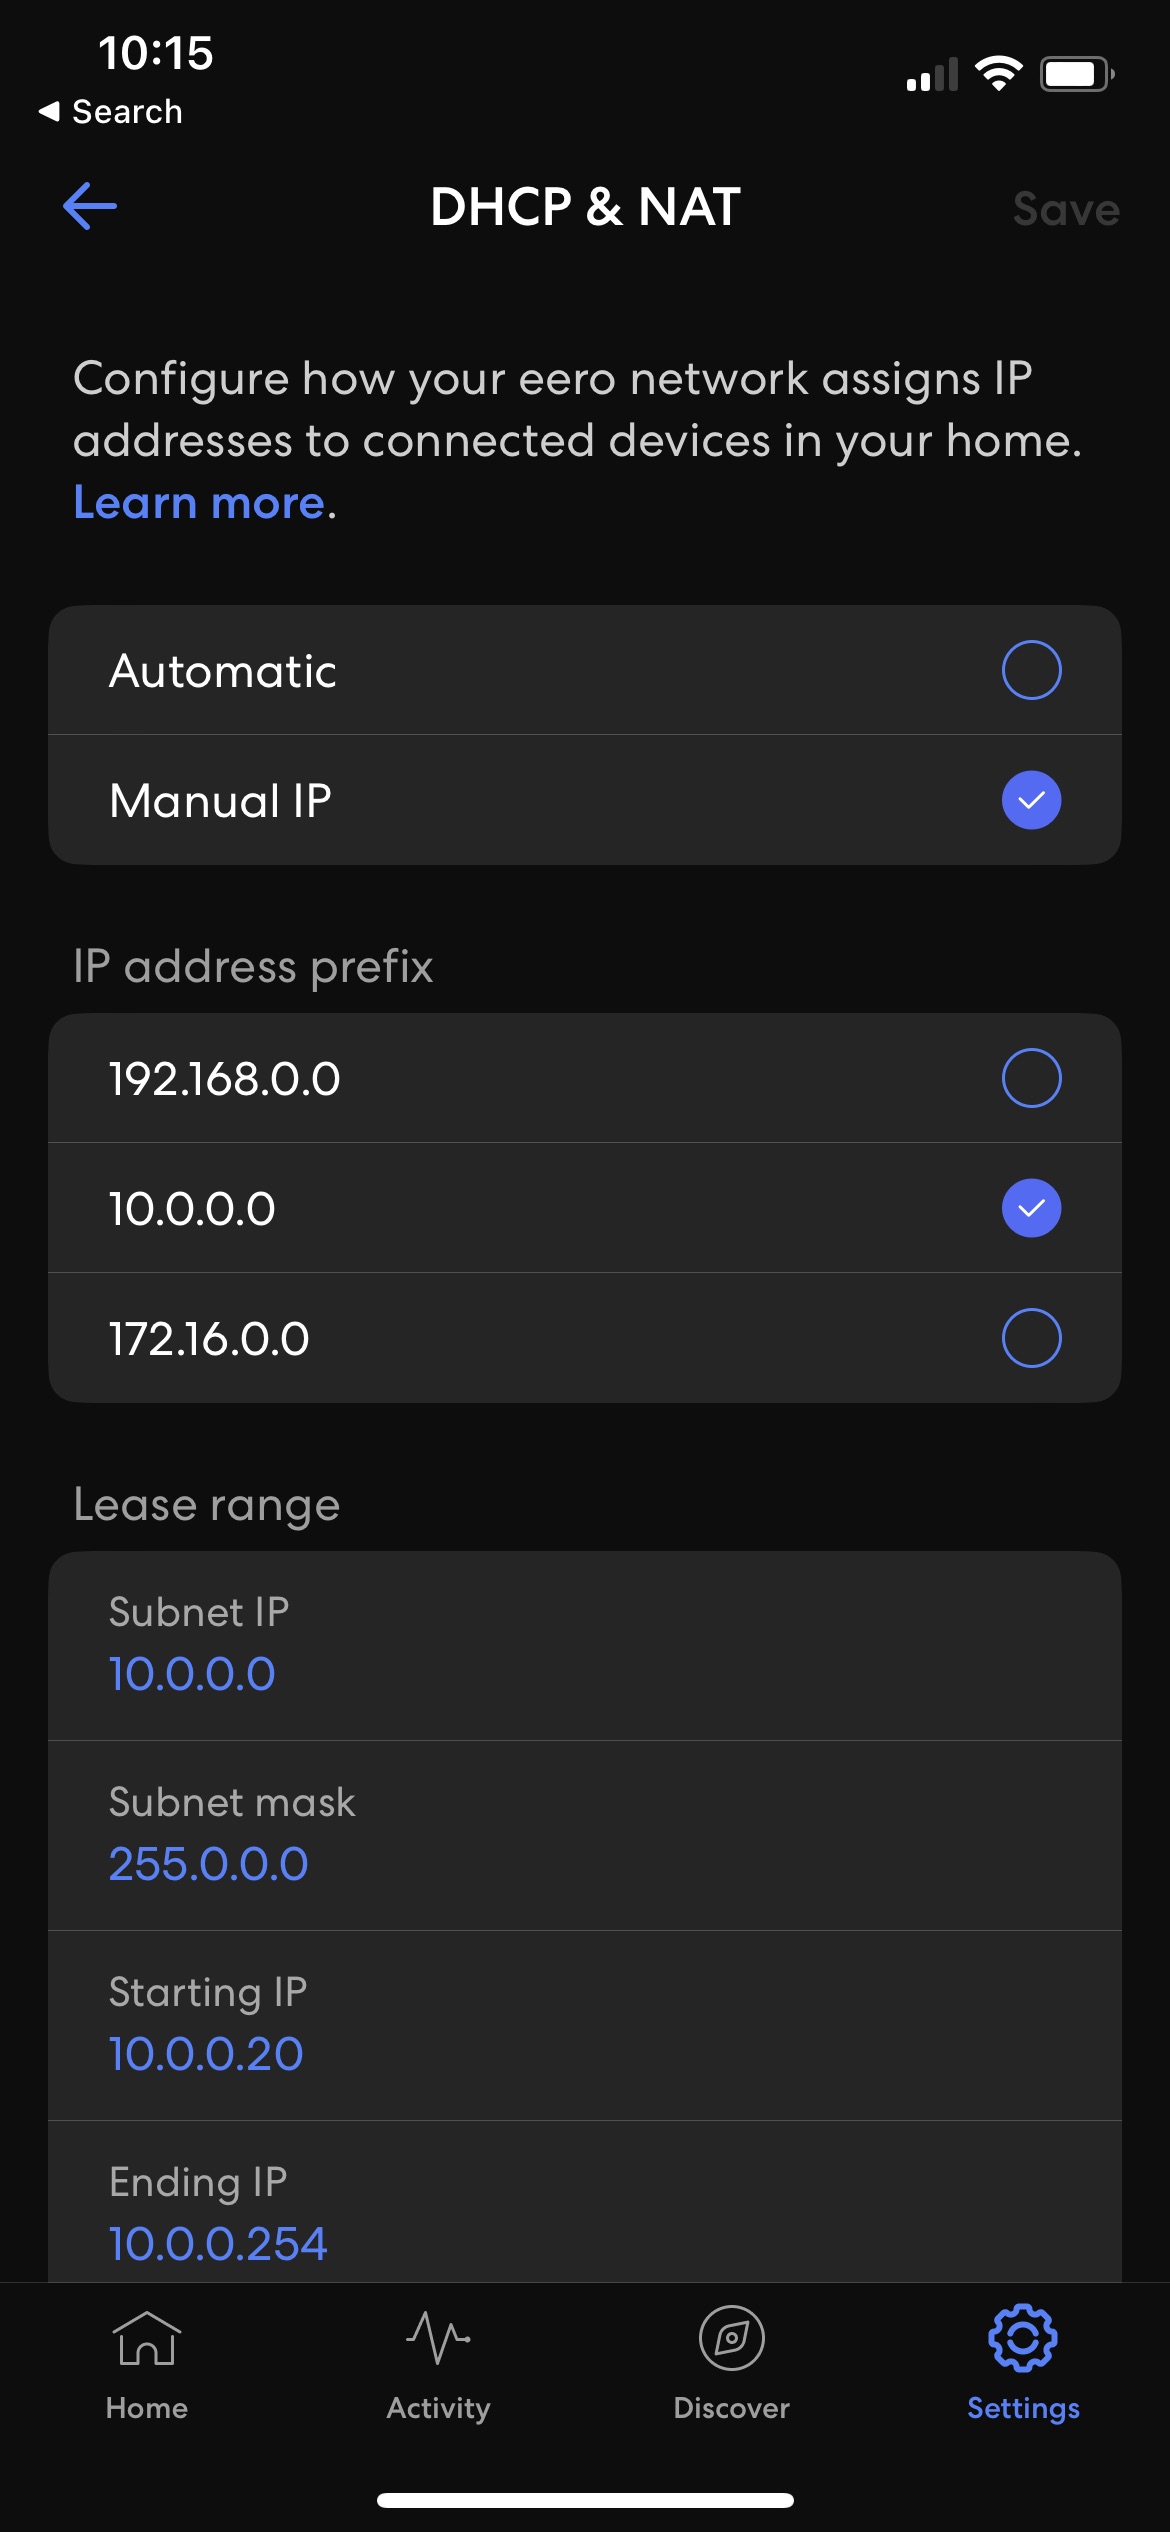
The solution in the end was to set the Eero system to use the Manual IP setting, so that’s its IP range was 10.0.0.x.

This left the Virgin router to use the 192.168.0.x range.

I think the problem was IP address collison.

This also left me able to connect directly to the Virgin router Wifi if I need too (for high speed downloads), as the Eero didn’t give the full speed of the Virgin Router.

Fix LightSpeed Cache + WooCommerce Caching Issues

If have any issues with LightSpeed Cache incorrectly caching WooCommerce data try this fix.

Go to LightSpeed Cache > Cache > Excludes tab

Under Do Not Cache Cookies, add:

woocommerce_items_in_cart

Save this, then clear all caches.

This solved a problem for me where the same product was being added twice, but with different attributes, and LightSpeed cache considered them the same product (making the quantity 2) rather than dealing with them as separate product lines.

WP Engine Redirect Rules

Since WP Engine deprecated .htaccess support we need to use different methods to redirect old URLs.

They offer a good redirect rule system.

Here’s an solution to redirect the following structure

www.domain.com/wp-content/documents/document-name.pdf

to this new structure

www.domain.com/document/document-name

Source

^/wp-content/documents/(.*?)\.pdf$

Destination

https://www.domain.com/document/$1


WordPress: How to get the post count for a term and post type

The WordPress function get_term returns the count for the number of posts in the term, but this is for all post types.  You need a custom function to count the number of posts in a term for a specific post_type.

/**
* Returns the number of posts for a term in a taxonomy, for a post type
* @param string $post_type
* @param string $taxonomy
* @return int count
*/
function get_post_count_for_term_and_post_type( $term_id, $taxonomy, $post_type ) {

  // Build the args
  $args = array(
    'post_type' => $post_type,
    'posts_per_page' => -1,
    'tax_query' => array(
      array(
        'taxonomy' => $taxonomy,
        'field' => 'id',
        'terms' => $term_id,
      )
    )
  );

  // Get the posts
  $posts = get_posts( $args );

  // Return the count
  return count($posts);

}


Moving from a 2017 iMac 5K (and MBP) and a 2021 MacBook Pro M1 Pro

I’m excited by the new 2021 MacBook Pro computers.  They are a great evolution from the 2020 models, and the performance and battery gains from the Intel machines are impossible to ignore.

I’m planning to replace an iMac and MacBook Pro with a new M1 MacBook Pro.

My iMac

I have a 2017 5K iMac which has been the best computer I have ever owned.  I bought it expecting it to last me 5 to 10 years.  Well, it’s been nearly 5 years and until the M1 chips came along I had no reason to think about changing it.

The performance is incredible, and the screen is still the best you can buy.

But this computer will now devalue quickly (because of the new M1 chips), and I want to get what I can for it.

My 2015 MacBook Pro

I also have a 2015 MacBook 15″ Pro.  I used to have the 13″ version which was the best laptop I had ever owned, but upgraded to the 15″ as I mainly used it when on site with clients, and the screen space was valuable.  I also used it occasionally as my work from home computer when I had an office in Brighton, where the iMac lived.

This laptop is quite big and the fans run loud even with the slightest load on the CPU. I even used a fan control app to reduce the spinning.

The new 2021 MacBook Pro M1

This new laptop is amazing.  17 hours of battery life, the very fast M1 Pro processor, MagSafe, HMDI, 3 x Thunderbolt/USB ports.  It’s a return to the great Apple laptops of the past.

Replacing the iMac

The idea was to buy the M1 laptop and replace the iMac and old MBP with the single computer.  I don’t work at multiple locations anymore, I rarely work on site with clients, and I need a more powerful laptop for Serato DJ software.

The iMac is my main monitor and I have an old Thunderbolt display as my second monitor.

So I just buy a new monitor to replace the iMac and I’m set, right? Well, no.

I’ve now discovered just how much the iMac does, and how much needs to be done to replace it.  It’s not just a computer with a screen.  Here’s what it really is:

  1. Desktop computer
  2. 5K monitor
  3. Thunderbolt, USB, SD card and Ethernet hub
  4. Excellent speakers
  5. Webcam
  6. Keyboard
  7. Mouse

To replace the iMac I’ve bought the following

  1. LG 27″ 4K display

I already have

  1. Keyboard
  2. Mouse
  3. Thunderbolt Display will act as USB and Ethernet hub (and possibly webcam)
  4. The laptop has a webcam (better than the display) and SD card reader.

Who knows, one day I might get another iMac for my home office as well as the M1 laptop, but I’m glad to removing the need to sync files between computers.  I used DropBox for this, and I’m keen to not use DropBox anymore.
How to Fix Zero Bounce Rate of all Sessions on Google Analytics when using Events

If you are experiencing a zero bounce rate across all of your sessions in Google Analytics and you are using Events then check the following.

The problem

Google Analytics considers a session to be a bounce when only a single page is viewed and there is no user interaction.

If you are sending events to Google Analytics after the page has loaded this is considered an interaction, and therefore the session will never be a bounce.  If you never have bounced sessions the bounce rate will always be zero.

The solution

Here is an example command sending an event to Google Analytics.  This is considered interaction with the session, and therefore will never be a bounce,

ga('send', 'event', 'Category', 'Action', 'Label');

Below is an example with the nonInteraction property set to true.  Google Analytics will record the event but will not consider this user interaction.  If the user only views a single page in the session then this will count as a bounce.

ga('send', 'event', 'Category', 'Action', 'Label', {

  nonInteraction: true

});
Here’s a great resource which helped me find this solution.

Latest from the blog

View All
Social media & sharing icons powered by UltimatelySocial